


Price: [price_with_discount]
(as of [price_update_date] – Details)
[ad_1]
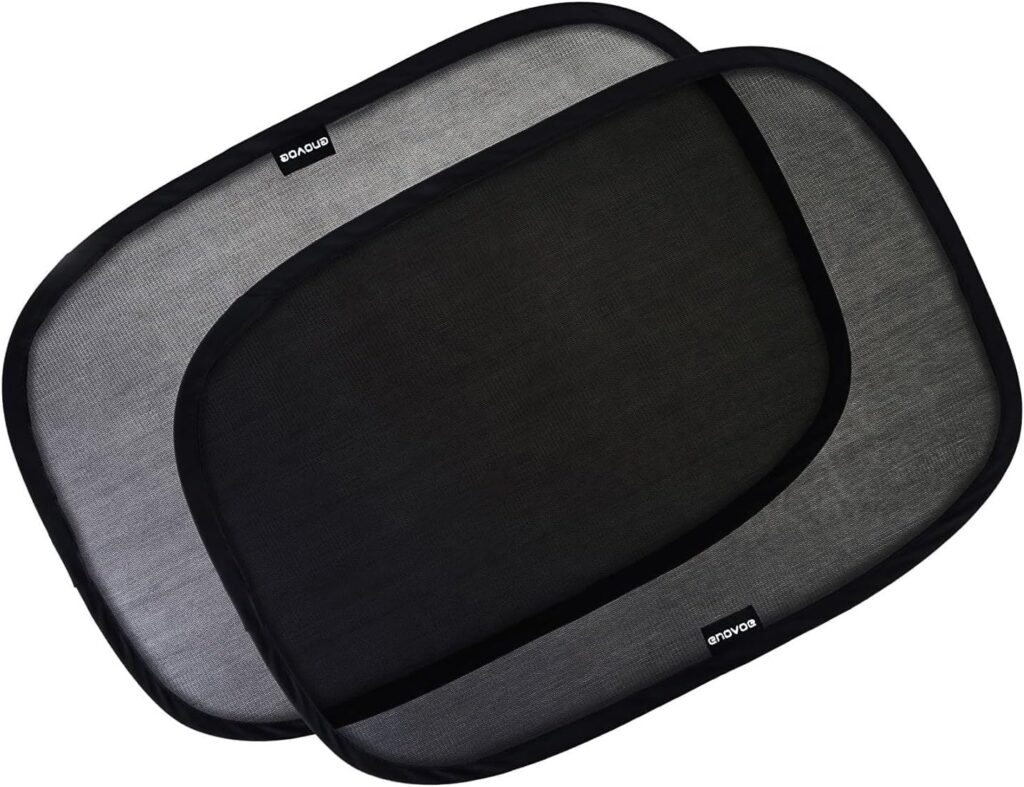
Product description


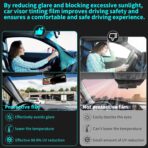
HIGH DEFINITION VISION: Our car window tint does not affect the line of sight, anti-glare, and the driving process is safer; Protecting your eyes can reduce fatigue while ensuring good visibility and a more comfortable driving environment
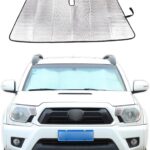
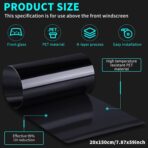
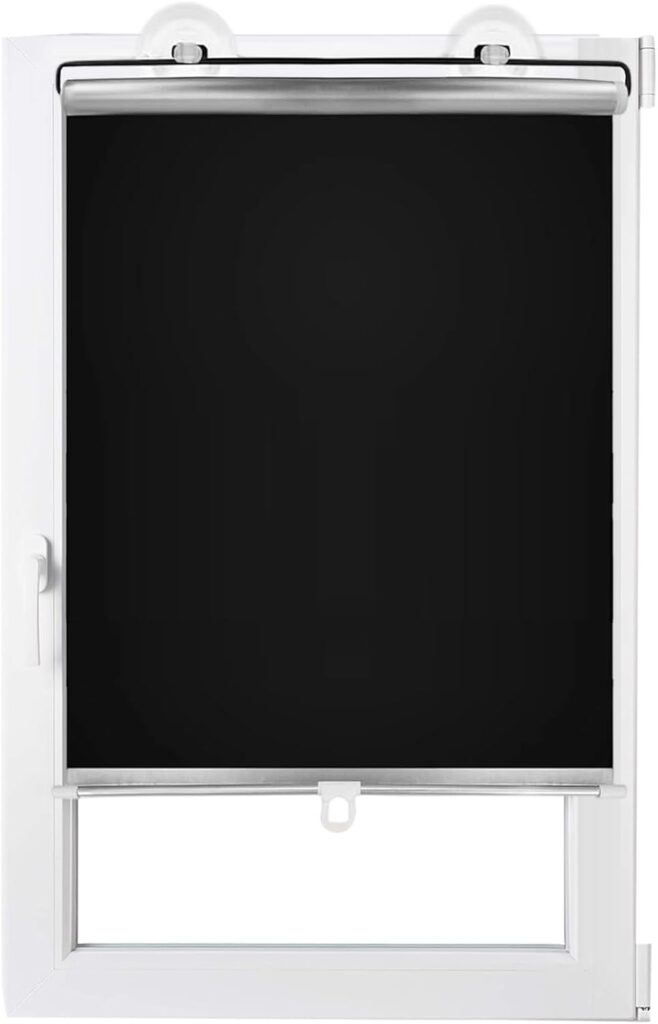
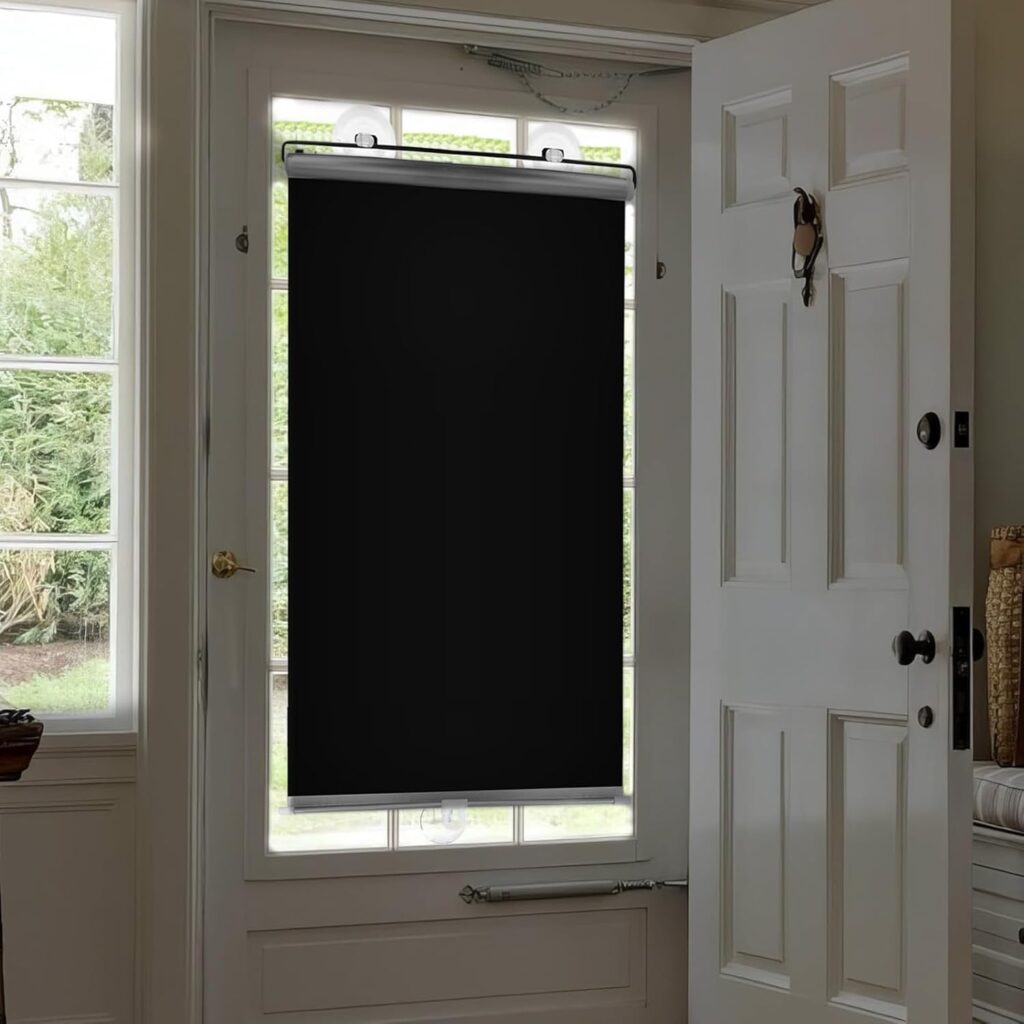
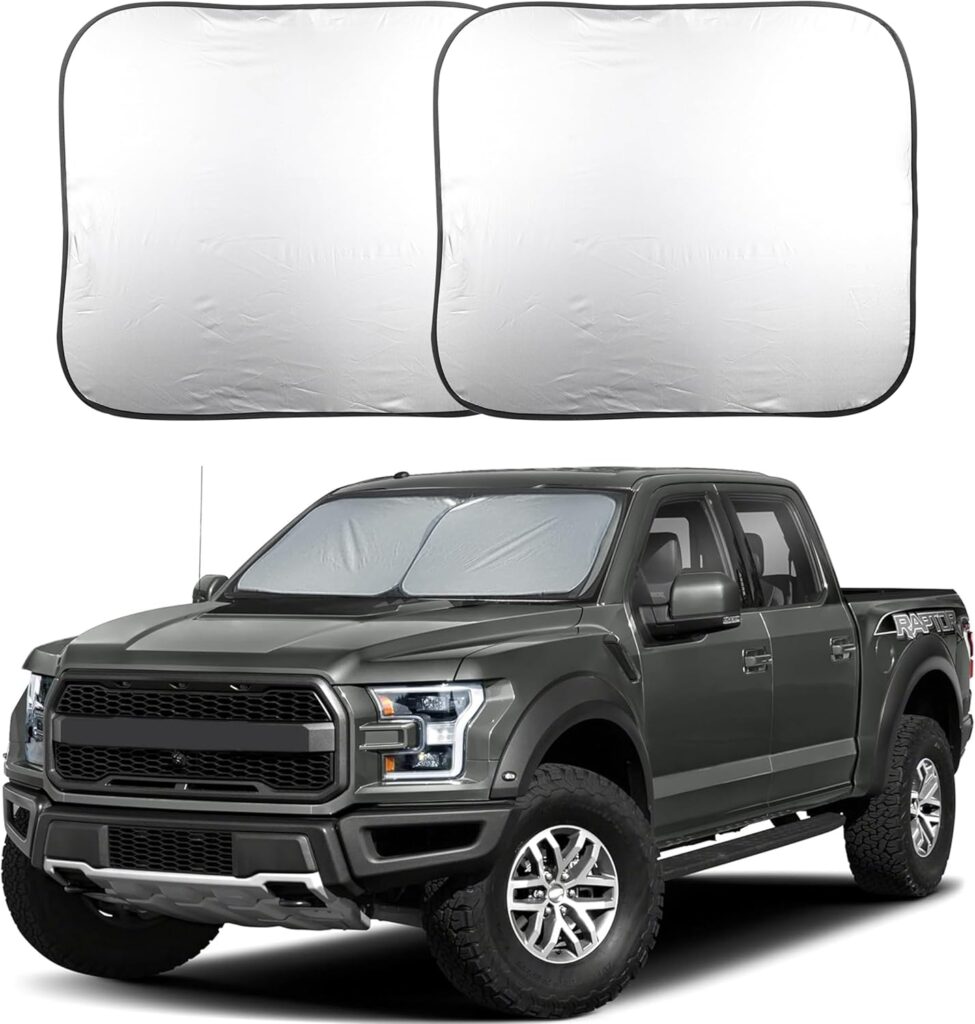
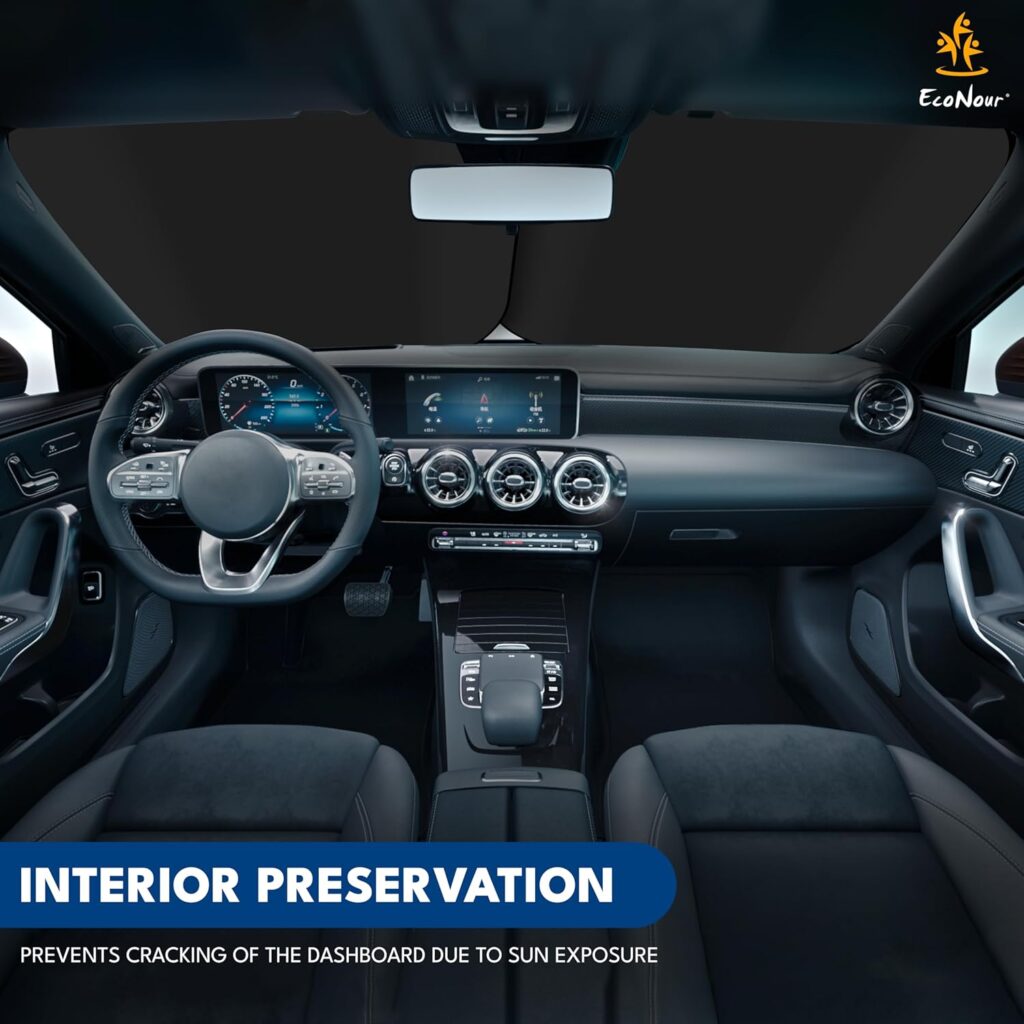
WIDELY APPLIED: Front windshield tint can effectively prevent car interiors from aging and fading; 59.06 inches x 7.87 inches size can easily cover car windows; Fade and scratch resistant window tint car is designed for cars, trucks, vans and SUVs
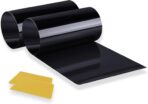
PREMIUM QUALITY MATERIAL: Windshield visor protection film is made of PET material with high gloss and smooth surface; Waterproof and durable; 5% VLT value (only 5% of visible light can pass through the tinted film), blocking 95% of visible light; Ensure safety without affecting driving
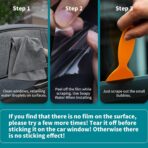
EASY TO INSTALL: The installation steps are very simple; 1. Clean the window, keep the surface water droplets; 2. Peel off the film while scraping; 3. Just scrape out the small bubbles; Easy to remove without leaving residue or damaging the vehicle’s painted surface; Can be cleaned with soap and water
PRACTICAL AUTOMOTIVE WINDOW FILM: This windshield visor tint stretches and conforms to any shape and is thick enough to minimize fading, stretch marks, and other visible defects caused by prolonged driving
[ad_2]


Sandy Cobar –
Great! Took time and patience though & sun
I bought this sunvisor tint because the one that I had paid for a few days before with my tint guy was not long or dark enough and the sun was still burning me. He had tinted 2 of my previous cars before So I was surprised and a little insulted that when I came back to tell him he didn’t do the sunvisor as long & dark as the previous cars and I showed him photos. His response was to come back tomorrow. Even though there was no other cars needing to be tinted and he said that he would pull the tint I want off of another car to put it on my car. Now I was willing to pay him but I said forget this. I went on Amazon. I bought this tint. I used an exacto knife I had and a spray bottle with dawn dish soap and water. I figured out which side the sticky side was while trimming the tint. The exacto knife helped a lot with that it seemed to cut the clear film easier than the actual tint. (Sticky side was on the outer side if the tint rolls inward).It did peel a few time due to either too much soapy water. The less wide part of the yellow tool is less flimsy so I used that side to get the extra water. The other reason for peeling was it did not have enough soapy water but what really helped keep it from peeling off was the California sun it helped dry the soapy water and it stopped peeling or bubbling. If does peel off in the future at least I have an extra roll.
Fries –
Waste of money
Sucks!! I guess I expected a little much from the cheap stuff… the protective layer is super hard to separate. The tint layer is so stiff its hard to bend into place. There is absolutely no give. The backside is super sticky and doesn’t slide into place. Its nearly impossible to install without bubbling or creasing the tint layer is so stiff. I gave up and tossed. Don’t waste your money.
Dan Sutton –
Great Window Film and Very Easy to Apply
Looks great and very easy to apply! Great value for the money!I am not a professional, but have a bit of experience with installing window film – here’s some helpful suggestions for installation:Materials needed:1. An x-acto style knife with a brand new blade.2. A tape measure.3. A straight edge to assist with making a straight cut – I used a 48″ drywall square.4. A “hard card” style of squeegee. The window film kit comes with two (atleast mine did), but they are a little flimzy – so I used one of the hard cards that I recently bought from Amazon when I applied heat resistant window film to all of my home windows.5. A spray bottle with soapy water. I recommend distilled or purified water to make sure that you’re not introducing water minerals (contaminants) to the window tint film. Also, it only takes a little bit of soap. I use Dawn dish soap, and only a few drops per 16 ounces of water.6. Window cleaner – preferably ammonia-free (“Sprayaway” brand glass cleaner is available in most stores, and is ammonia-free).7. A clean surface to slice on top of. You are going to want to make a perfectly straight (jagged-free) cut, so choose the cutting surface appropriately.Basic directions:1. Make sure that your work area is clean, dust free, and that there are no airborne particles floating in the air – you don’t want to have contaminants stick to the film once you peel-off the backing.2. Scrub and wash the top of your windshield. I recommend spraying window cleaner on the windshield and lightly scrubbing with a scouring pad and/or scraping with a razor blade. Make sure there is no debris or particles stuck to the glass. Then, wipe the glass clean with a lint-free towel. Repeat. Make sure there are no contaminants on your windshield.3. Measure the longest width (side to side) of your windshield that will be covered with the film. Add about 1 inch to that measurement.4. Cut the film to the measurement obtained from the previous step. Measure twice, cut once!!!5. Use a straight edge to trim-off any excess film from the top edge – so that the overall height (top to bottom) of the film (when applied to your windshield) conforms to your local laws – where I’m from, the top 6 inches of my windshield is okay to have tint. So, I had to trim about 2 inches. Again, measure twice, cut once!!!6. Wash your hands and finger tips very thoroughly with dish soap & warm water to remove any oils.7. Spray the top part of your windshield with soapy water.8. Before peeling-off the backing of the window film, spray your finger tips with the soapy water. This will help ensure that you don’t leave fingerprints on the back of the window film while you are handling & positioning it onto the windshield.9. Using 2 small pieces of masking tape – 1 placed on opposing sides of the window film, pull the two pieces of tape away from each other – this will peel-off the backing. As you peel-off the backing, spray the sticky side of the window film with soapy water. This step might require someone to assist you, as you don’t want the sticky side of the film to fold onto itself or to touch anything that might deposit contaminants onto it. Be sure to keep your finger tips moistened with the soapy water. Again, this will help keep you from leaving finger prints on the sticky side of the window film.10. Apply the window film to the windshield (that should still be heavily moistened with soapy water from a few steps ago). If you cut any off of the top side of the film, I recommend placing that side on the top of the windshield (leaving the factory cut side at the bottom). You might need to make adjustments to the film to make sure it’s placed properly – this is one of the reasons why you used the soapy water. Make all adjustments to the film and make sure you are satisfied with its placement: Is the film straight across the bottom edge (allowing for any glass curvature, of course)? Are the sides and top covering the glass completely? Are there any major wrinkles that will fold-over on itself? Are all of the visible bubbles round in shape and look like they can be squeegeed-out with the hard card? Are you esthetically satisfied with the overall symmetry of the film in relation to the windshield and rearview mirror?. Be sure there is a little excess window film on both sides & the top.11. Starting in the middle of the film, place the hard card firmly against the glass, squeegee all of the water and bubbles out from behind the window film – moving from the middle to the left side, and then from the middle to the right side (working from the middle to the outer edge helps keep the film in its position without making it move). Repeat a couple times to ensure all of the soapy water and bubbles are worked-out from behind the window film.12. Use an x-acto knife to trim the exceess window film off from both sides & the top.13. Use the hard card to push both sides & the top into place. Squeegee the film one last time (pressing firmly against the glass) to make sure all of the soapy water and bubbles are gone. The residual water that might remain should cure after a few days.14. When cleaning the soapy water droplets off of the windshield (from around & below the film) be very careful not to rub the film in a direction or manner that could peel it back or mess with its placement. Be gentle with the film for a few days while it cures.I hope this helps you!!!
Utfam –
Not easy DIY
Good product overall but doesn’t come with instructions and needs to be cut so the sides don’t drop down. Glad it came with two cuz I I def screwed up the first one.Just pay the pros on those one.
mm –
For anyone having trouble removing the film backing…
Stick electrical tape on one corner of the film, and another piece on the opposite side of the same corner so the tape sticks together. While peeling the tape apart, the film should separate as well. Do it slowly. May take a few tries. Clean window good and use lots of water and the film is very forgiving in terms of placement. Cut it a bit larger and run a razor blade across the edges of the A pillars and rear view mirror for clean lines. Easy install with the proper prep, and looks great!
David Jung –
Tighter than Snoop Dogg’s Joints!
Product is low quality, adhesion Isn’t as good as other products I’ve used in the past, it comes rolled up tighter than Snoop Dogg’s joints so the ends don’t adhere to the window as they should. Good thing you get 2 rolls so you can replace the first one after the second one’s been under a flat board for a month and not rolling up as you try to install.Color quality on point, not easy to install (not for inexperienced installers)
Gina Ray –
Good tint that hasn’t faded or turned colors at all in a few years
Good tint stays stuck didn’t fade or change colors I just wish it had a few inches so I could run it down the windshield more on certain vehicles like my tracker. That thing has a super tall windshield and needs a lot more of the windshield covered to even function at blocking the sun but it works well on my 02 Silverado and most other vehicles with normal size windshields.
Stuart J. –
Waste of $15.
Waste of money. One roll was all sticky and heavily wrinkled. Other roll was about 25% damaged and unuseable. Not worth my time driving a across town to return $15 in garbage. Not a happy camper, so I’ll take the loss.
Amazon Customer –
This works great a little tricky to install but all in all a great deal and product is great
Sergio –
I mean it worked , we will see if it lasts. I messed up the first roll , good thing it has 2 rolls . First time doing it , turned out nice and it’s cheap! Less than $20 for 2 rolls, you can do 2 cars!
Denis martin –
Would buy again
Dev –
This product isn’t worth it. Very flimsy, does not stick (yes I took the backing off). Super disappointed. 0/5 – UPDATE: first drive on the highway and this thing blew off my windshield.
Luc –
Excellent