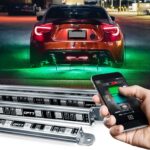
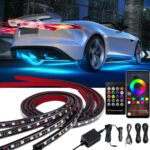
OPT7 Aura Pro Underglow LED Lights with APP & Remote Control, RGB Multicolor Mode, Music Sync, 4 PCS Waterproof Rigid Aluminum Light Bar, Exterior Underbody Lighting Kit Universal Fit for Car Truck RV
Original price was: $139.99.$31.50Current price is: $31.50.


Doogie –
Overall a really good bargain for Yamaha golf cart
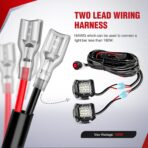
I had to buy this to replace the substandard harness that came with my light bar purchased last year for my Yamaha golf cart. The wires were adequately sized with good connectors. I didn’t need the split to carry 2 lights and would have preferred that wire length didn’t include the configuration so if you need a longer wire you need to consider it. The on/off button was way better than the one that failed on the original harness and the wire was plenty long. It came with several extra fuses and connectors. Overall a really good bargain.
A. Rumble –
Complete package
Bought the kit for the running lights on my V-Strom. Good Quality, very economical and the kit was complete. I’m buying a second kit for my grip warmers because they came with some garbage wires.
Created.By.KaylaD –
Good quality
Good fit for my existing dash came. Instructions were easy.
Billy –
Economical wiring harness to add an LED or AUX light to a Golf Cart
I purchased this wiring harness to install a 20watt 12V LED light bar I had purchased a while back on Amazon and finally got around to installing it. In all it took me about 1 hour and 30 mins to do everything, but about 20 minutes of that was trying to figure out the best way to wire it and run the wires with the smallest footprint and more importantly easiest way to do it. First, I mounted my light on the top of my cart roof as there were already two holes from the factory that looked like the perfect spot to install the bar. (Note regarding mounting the light here: In hindsight it looks good, but the light projection shows every bounce my cart hits because the roof isn’t very rigid and moves a good bit with every bump I hit and probably would have been better if I mounted it to the cart itself on a more rigid base that didn’t jiggle as much.) Anyhow back to the wiring of it. I deducted 1 star for two reasons. The length of the wiring harness is a bit short and the wire terminals wouldn’t hold. The wire length was part of my issue with trying to figure out the best way to run the wires and making sure everything was connected without having to go to the store and buy more wire to extend everything. I finally had a game plan and just did have enough wire to reach everywhere and wanted to share in case there are others looking to add a light to their Golf cart without having to buy extra wire too. My cart is an 48V electric Yamaha Golf Cart by the way. I also purchased a 48V to 12V transformer so that I could run the light off the whole battery pack and not just a couple batteries to get an accurate 12V and because that way it would draw from all batteries equally. With regards to the transformer I didn’t want to secure the transformer on top of the batteries because sometimes transformers fail and can short out and burn up so I found a spot on the frame behind the battery pack bay to mount it and also allow for more air to circulate around it and hopefully allow it more cooling when using it so that it will last. To connect the wire harness to the transformer and then the battery pack I cut the battery terminals off and spliced in the transformer using WAGO nut connectors (these are my favorite type of wire connectors) I mounted the relay close to the batter pack also on one of the upright frames in the battery pack bay. Due to the short length of the toggle switch I couldn’t run the switch to the front dash near the key so I had to mount the switch just under the seat where I could easily reach down and turn it on when needed. I did have to drill a couple holes in my cart, but put them where it was difficult to see and where the footprint would be as small as possible. As for the wire that went to the light I found an opening underneath the battery pack bay and pulled the wire through there and under the cart zip tying the cable secure along the way. I ran the wire up to the passenger side front wheel well then drilled a hole inside the passenger side accessory compartment and them up the front support rail then up to the roof where I connected it to the light. This wiring harness has two connections for two lights, but I only used the one and tied off the other underneath the wheel well. Overall the price for what I bought is good, but if the wiring harness was about 50% longer on the wire to the light and for the red toggle switch it would be able to have more options for installing. I am happy however, and after I completed my project the light works great and I changed the 15AMP fuse to the 10AMP fuse since my light is rated for 10AMP. The wiring harness also comes with a few extra wire terminals and three extra fuses (2 extra 15amp and one 10amp). I don’t recommend the wire terminal connectors because I couldn’t get them to hold and decide to cut them off and just wire the light direct and tape them up with electrical tape instead where it connected to my LED light lead. Anyhow hope this helps someone figure out how to install and LED light to an electric golf cart.
Gary stevenson –
That it was what they stated
This is a great wiring set makes thing a lot easier I would buy agin
michael –
Great addition
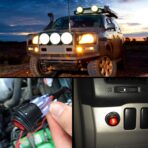
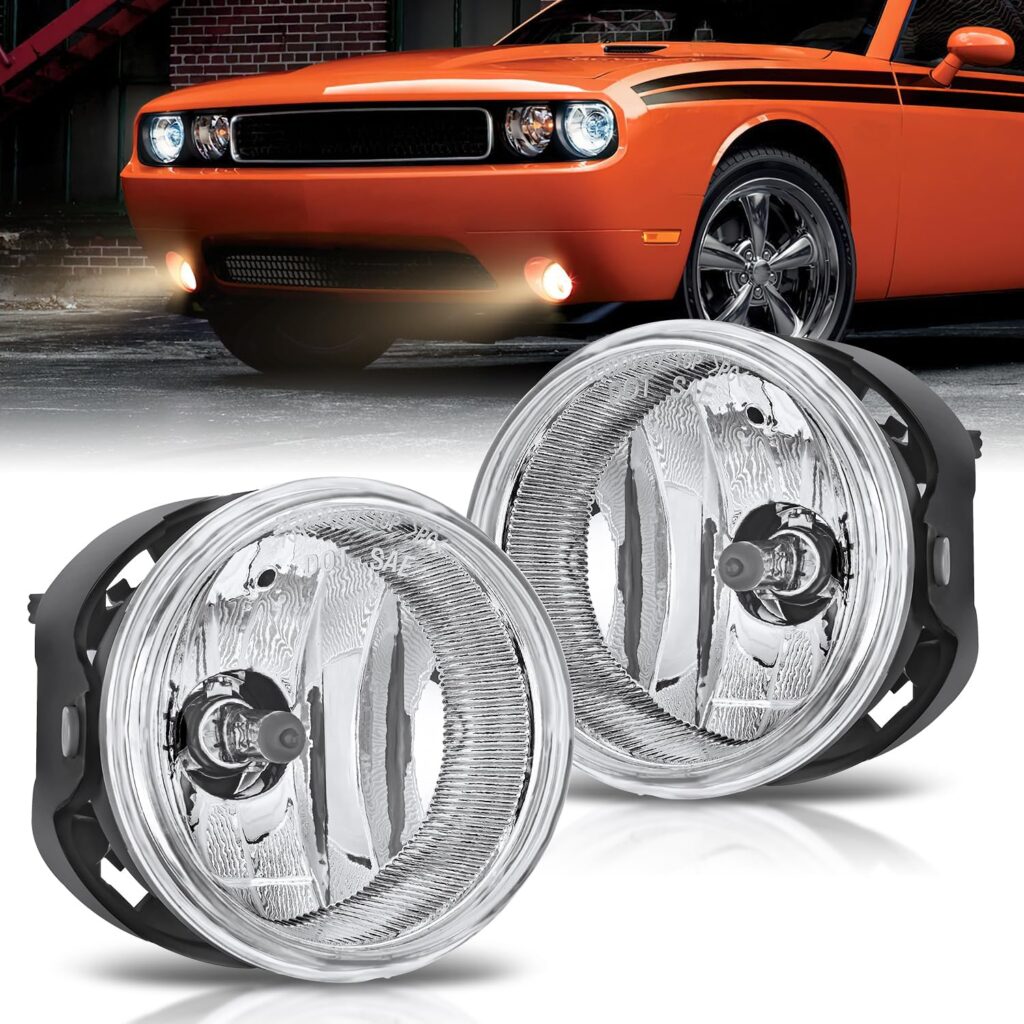
Works great with my fog lights.
David Houck –
Reliable Wiring Made Easy ⚡
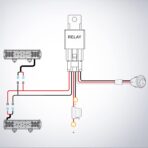
The Nilight LED light bar wiring harness is top-notch! Everything included for a clean install, solid relay and fuse setup, and the switch is super convenient. Makes powering off-road lights hassle-free and safe. 🔧
Abagudo –
Easy to install .
Excellent way of wiring non existing fog light .
Israel Morales –
Esta bien este cable por que esta ya armado solo instalas y ya viene con repuestos instructivo y la calidad del producto es buenísimo en todo
KRAZY MITCH –
I love my new driving lights, and a good harness made for an easy install
buyer –
Good wire
S –
V. Good.
D R –
Sin mayor problema para su instalación buena calidad y longitud sobrada, lo compre dos veces ya que instale 4 lámparas en mi camioneta, muy recomendable